Support: VizTrack Dual View Vehicle Monitoring System
Mar 3rd 2024
VizTrack Dual-View Vehicle Monitoring System Quick Start Guide
The VizTrack Dual-View Vehicle Monitoring System offers a comprehensive solution for ensuring the security and efficient management of your vehicles. Featuring dual-view cameras, it captures high-definition footage of both the interior and exterior, providing a complete visual record of activities and incidents. Real-time GPS tracking, live streaming, and recording capabilities keep you informed about your vehicle's location and status at all times.
Additional features like geofencing alerts, driver behaviour monitoring, tamper alerts, and cloud storage enhance the system's functionality, making it ideal for fleet management, personal vehicle security, and rental companies. Easy to install, the VizTrack system minimizes downtime and ensures you are quickly equipped with robust monitoring capabilities.
Quick Start Guide
Step 1: Determining Mount Position

This is a sticker-mounted dual camera and it must be mounted in the exact center of the windshield (same distance from the left and right).
Ensure you don’t put it so low that you can see too much of the vehicle hood in the picture.
Make sure it cannot be blocked if the Visor is down.
Make sure that the wipers will not block the vision path when they are off.
Make sure that the wipers will clean its vision path when it is raining.
Clean the spot where you will install it with an alcohol wipe and let it dry before affixing it with the 3M tape.
Measure the exact center of the windshield and make a mark there.
Please read all the steps BEFORE mounting the camera.
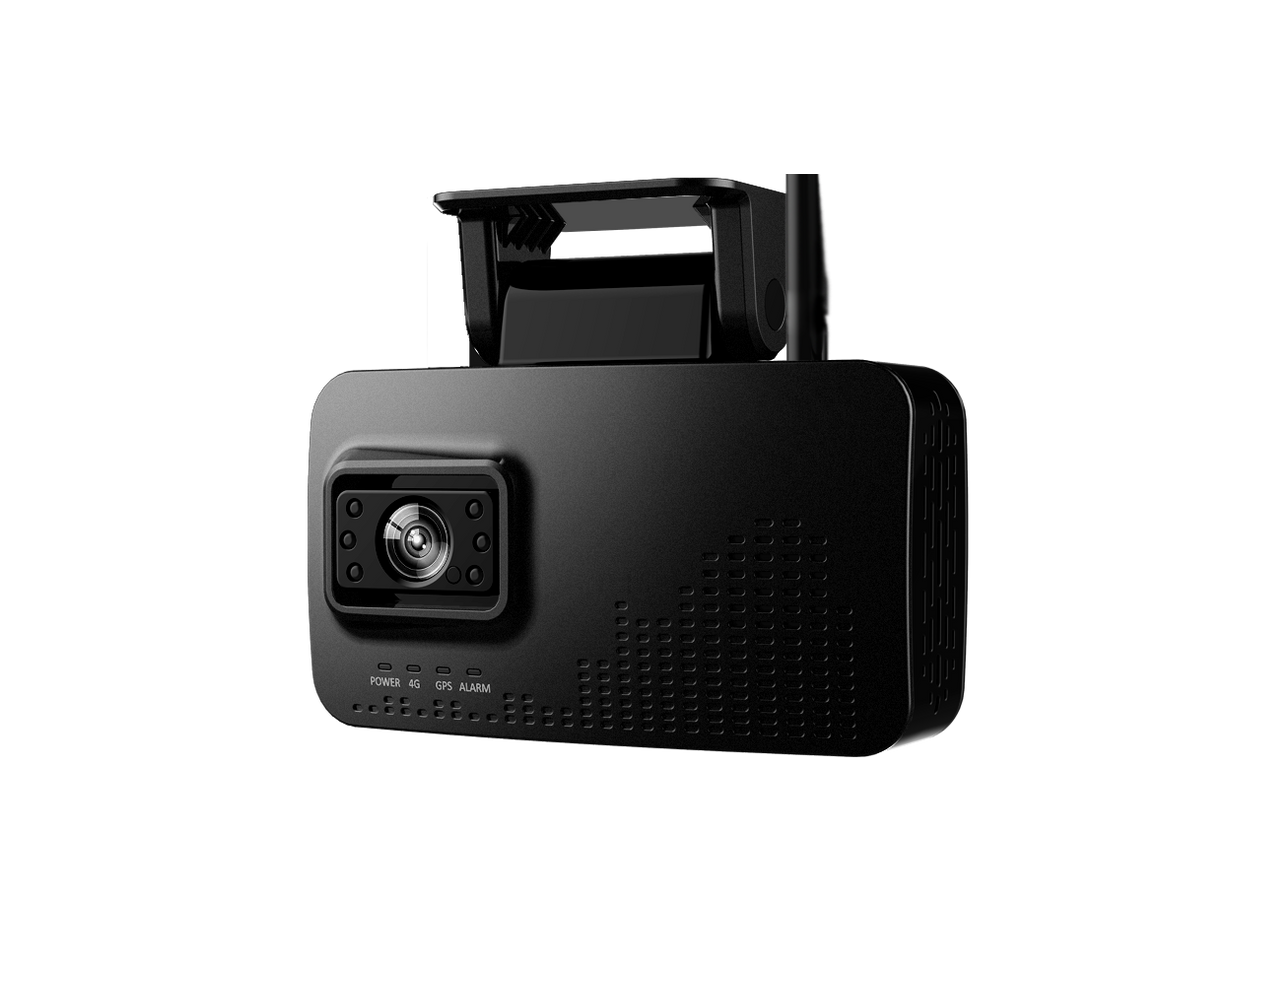
Step 2: Attach the Mounting Plate to the Dash Cam -Take the adjusting bolt, nut, and the Dashcam and swivel mount out of the packaging. See the picture below.
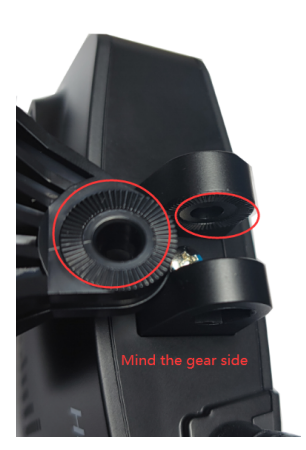
You will notice that on one side of the swivel mount, there is a plastic gear. Fit the swivel mount into the dashcam mount slot so that the plastic gear is on the same side as the plastic gear on the dashcam itself.

Insert the bolt and lock nut that attaches the swivel mount to the dash cam. DO NOT fully tighten it yet, so that you can adjust the camera after it is mounted.
Tear off the 3M sticker and carefully line it up and paste it on one side of the holder. If the temperature is below 20 degrees, use a hot-air gun to warm the glass for 5-10 seconds, then paste it on, using your level mark as your guide.
(DO NOT overheat the glass)
Step 3: Attach Dash Cam to the Windshield
In step 1 above, you marked the exact center of the windshield from left to right. You should have placed this mark vertically in such a place as the windshield wipers will clean the window in front of it and the visors and rear view mirrors will not block it, etc.

Now, we are going to use that mark as a visual guide for drawing a horizontal line that will help us correctly affix the camera to the windshield. To choose the final spot for the camera, you will now hold up the camera and mount, which have been connected, and choose the final mounting spot.
Using a level, draw a horizontal line with a felt pen to align the camera's top edge. This camera must be level and once the 3M tape sticks to the window, you will not be able to move it. Having an alignment line to mark where you want to stick the camera will help ensure that it is installed level. It is very easy to mount the camera on an angle accidentally. Once you stick the 3M tape, you cannot move it.
If you are not 100% certain if you have chosen the best place, it might make sense to mount the camera AFTER you have powered it up, so that you can see its viewpoint in the mobile app or from the telematics system software. That way, you can make sure the camera is not being blocked by a rearview mirror or other object.
Once you have made your final horizontal line with a felt pen, remove the 3M tape outer cover and carefully fix the camera to the window, using the horizontal line to align the top edge of the mounting bracket. Press and hold the camera in place for a few seconds, then slowly let go.
Step 4: Wiring connections
The camera comes with an integrated power cable. Hide the cable in the headliner and down the pillar and run them towards the power source. Plug the power adaptor box into the device first, before connecting it to the power source.

- Power - connect the red wire to a voltage source that is always 12 VDC, even with the vehicle turned off.
- Ignition - which should have 12VDC on it when the truck key is on and no volts when the truck key is off -connects to the orange wire on the main power connector. It is acceptable to tie ignition into an existing ignition on a type source like a cigarette lighter plug.
- Ground - use a solid ground point on the vehicle or the negative battery terminal directly.
- Caution: Do check that all wires are correctly connected, and make sure to wrap connection joints with electric tape when the connection is finalized.
Step 5: Adjusting the Front Camera
Attention Adjust the camera in the mount so you can just see the vehicle’s hood at the bottom of the picture. To visualize the camera angle, log into the VSS system from a desktop browser and click on the front camera.
Download User Manual
Click the attachment below to download the installation guide.
